
Overview
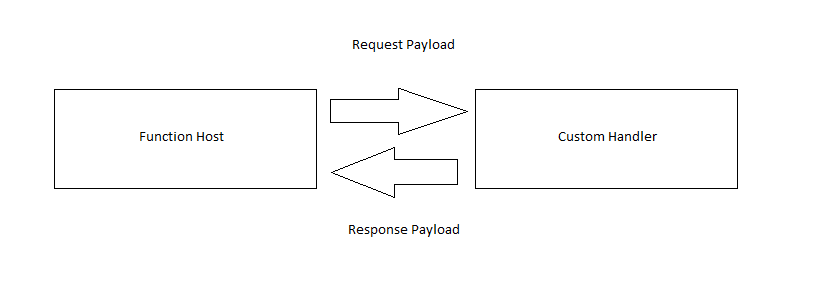
Custom Handler is a feature in Azure Functions which lets you bring your own command, script, or executable, and hook it up to Azure Functions Triggers and Bindings. Custom Handler implements a lightweight Web Server.
In other words, you can write your own APIs, in any language i.e. it need not be a language supported by Azure functions. You can just hook up your Azure function host with your custom API and let your function act as a proxy. In some scenarios, even if the language is supported, the version or runtime that you are looking for might not be supported by Azure Functions.
The trigger or input payload would invoke the function app’s host which would pass the request to the Custom Handler and get back the response to the function again. If you have an output binding in the function, then the function host takes it to the target.
- The function host can be triggered using any permitted Trigger/Input Binding
- The Custom Handler can also be in a language not supported by Azure Runtime
- The function host can have any of the permitted output Bindings
Examples
Example 1: HTTP Trigger
Let’s look at Custom Handlers with an example.
Step 1: Decide on a Custom Handler
As we saw earlier, a custom handler can be your own command, script, or executable. It can be in any programming language.
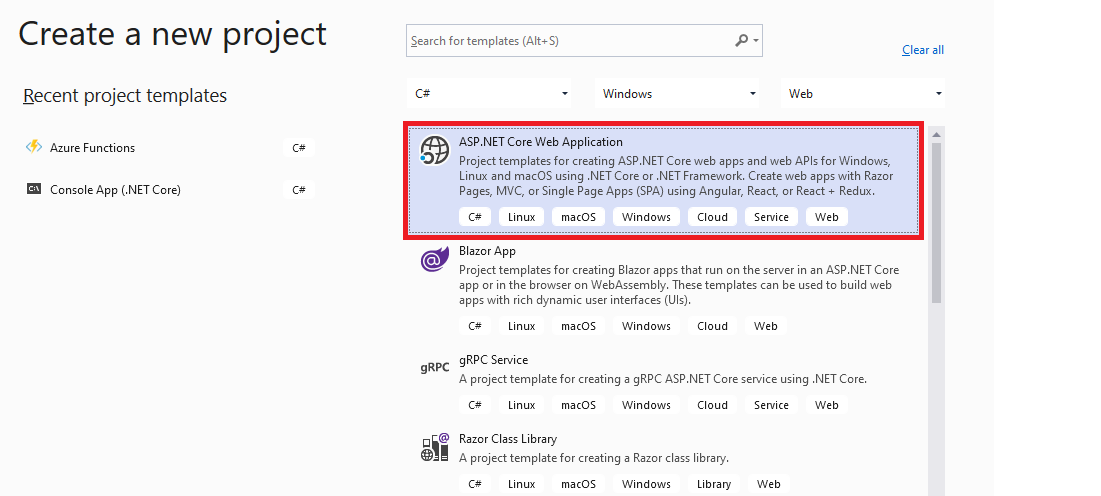
For simplicity, let us use a Web API implemented in .NET Core 2.2. Let us create the same.
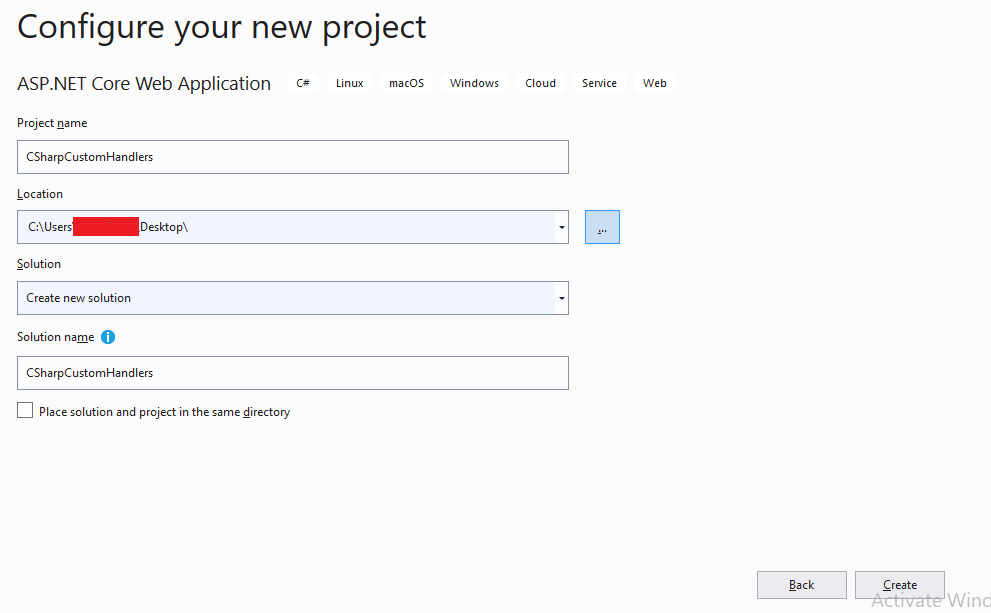
Step 2: Create a Web API application
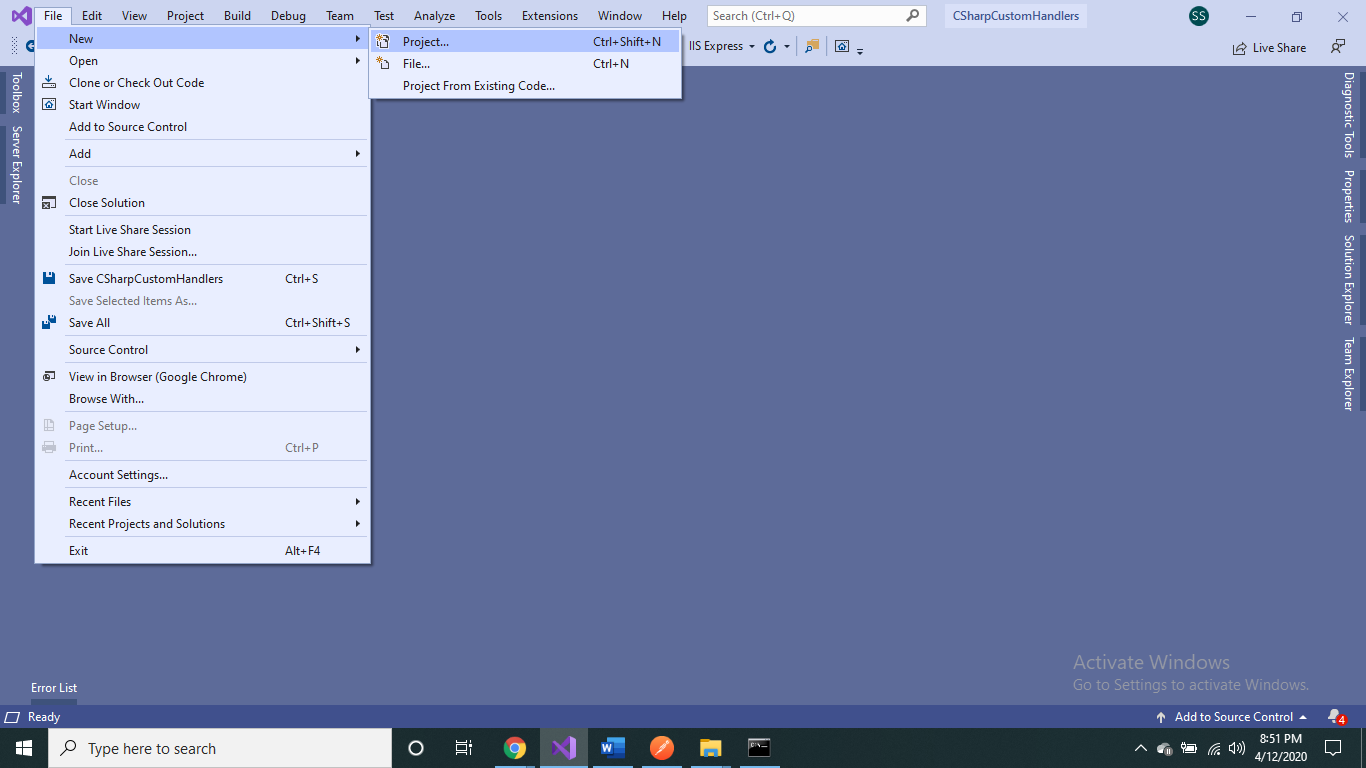
In Visual Studio, create a new Web API project.
Step 3: Add a new controller
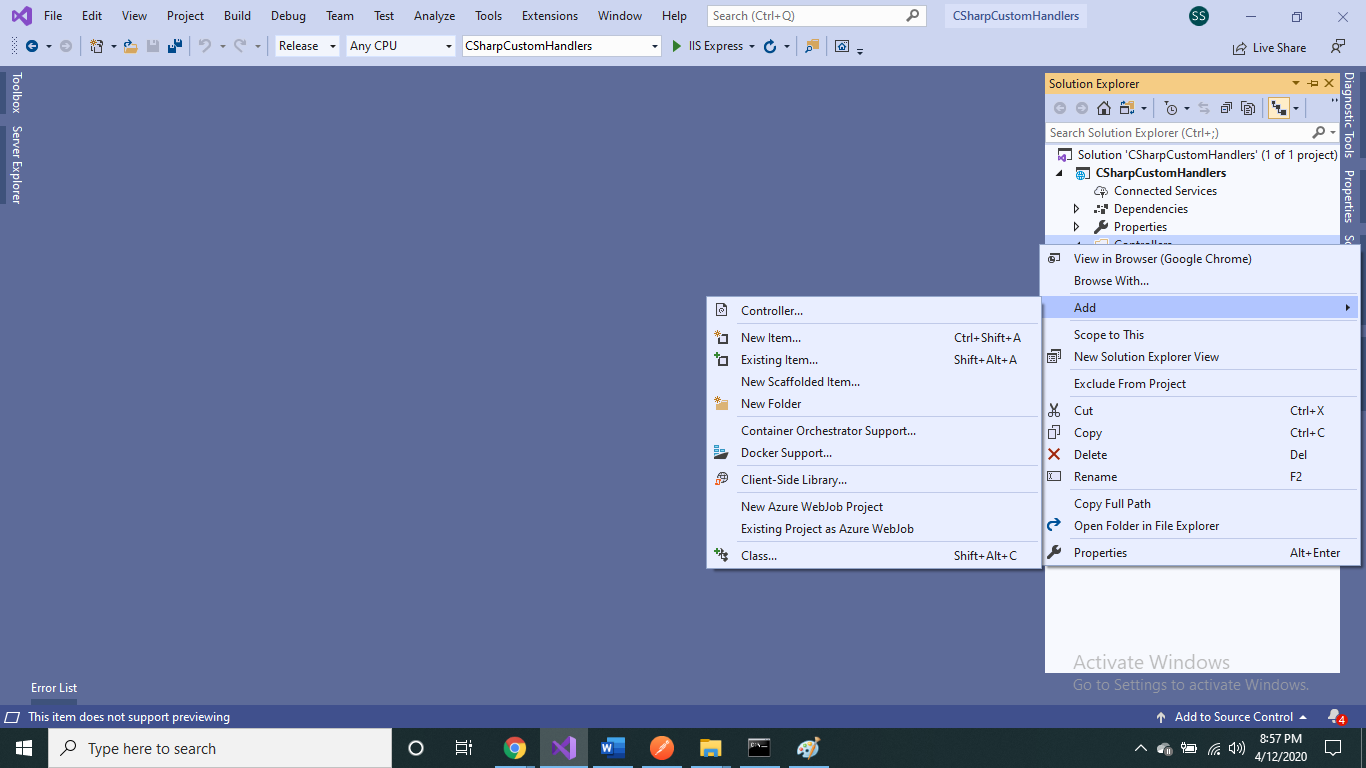
Name the controller HttpTriggerController
Step 3a: Add code for it
[Route("[controller]")]
    [ApiController]
    public class HttpTriggerController : ControllerBase
    {
        private ILogger<HttpTriggerController> _logger = null;
        public HttpTriggerController(ILogger<HttpTriggerController> logger)
        {
            _logger = logger;
        }

        [HttpGet]
        public ActionResult<string> Get()
        {
            return "hello from c# worker";
        }

        [HttpPost]
        public ActionResult<string> Post(string value)
        {
            var invocationRequest = this.HttpContext;
            _logger.LogInformation($"queryparam:{invocationRequest.Request.Query["name"]}");
            return "HelloWorld from c# worker with value" + value;
        }
We have a
- GET endpoint – /httptrigger
- POST endpoint – /httptrigger
{
“value”:”<string-value>”
}
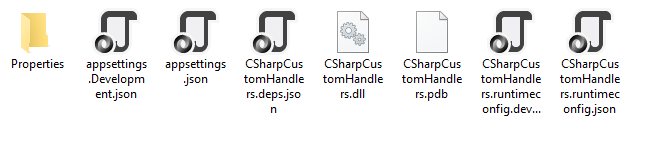
Step 4: Release build the project
Once you release build the project, you should the following structure in the \bin\Release\netcoreapp2.2 path
Step 5: Prepare files & directories for Custom Handler
5a. host.json
In a new separate folder, let’s say Final, save the below file as host.json
{
	"version": "2.0",
	"extensionBundle": {
		"id": "Microsoft.Azure.Functions.ExtensionBundle",
		"version": "[1.*, 2.0.0)"
	},
	"httpWorker": {
		"description": {
			"defaultExecutablePath": "dotnet",
			"defaultWorkerPath": "CSharpCustomHandlers.dll"
		}
	}
}
Extension bundles is a deployment technology that lets you add a compatible set of Functions binding extensions to your function app. A predefined set of extensions are added when you build your app. In the HTTP worker section, we define the way to execute the Custom Handler. Most of us know that in .NET Core, the way to execute a Web API executable is by using the dll file of it and by using the below command
dotnet <dll-file-name>
We are instructing the Azure Function host on how to execute the .NET Core Web API, which is the custom handler, using the above command. As we discussed earlier, the custom handler can be in any programming language. This section would vary according to the language chosen.
Let’s take the example of node js
{
    "version": "2.0",
    "httpWorker": {
        "description": {
            "defaultExecutablePath": "node",
            "defaultWorkerPath": "server.js"
        }
    }
}
Let’s take the example of java
"httpWorker": {
"description": {
"arguments": ["-jar"],
"defaultExecutablePath": "java",
"defaultWorkerPath": "path/to/my.jar"
}
}
5b. function.json
Create a folder HttpTrigger inside the Final folder
We saw in Step 3 that the route of our Web API endpoint is /httpTrigger. Hence, we must create a folder with the same name. The azure function will scan each folder and the function.json file to prepare the matching endpoints.
Inside the HttpTrigger folder create a file function.json with the below contents.
{
  "bindings": [
    {
      "authLevel": "anonymous",
      "type": "httpTrigger",
      "direction": "in",
      "name": "req",
      "methods": [
        "get",
        "post"
      ]
    },
    {
      "type": "http",
      "direction": "out",
      "name": "res"
    }
  ]
}
In the function.json file, we are defining that we have an httpinput binding with GET and POST HttpVerbs. We also have an HTTP output binding i.e. the response.
This section will vary if we have any other input binding to the azure function, for example, Queue Trigger. We will look at it as a separate example.
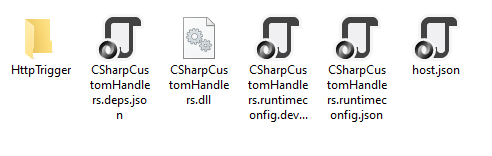
5c. Merging custom handler
The next step we need to move the release build files of Step 4 into this folder.
The folder would look as below.
Step 6: Test the Web API independently
Using the command dotnet, lets test the Web API independently

We can see that the Web API is invoking fine. Let’s give it a GET request.
We can see that the Web API is executing fine. Press Ctrl + C to terminate the server.
Step 7: Prepare to invoke the Azure Function
Before invoking the function, you need to install the Azure Function core tools. You can skip this step if you already have these installed.
After installation is successful, please install Azure Function core tools using the command
npm install -g azure-functions-core-tools
Step 8: Invoke the Azure Function
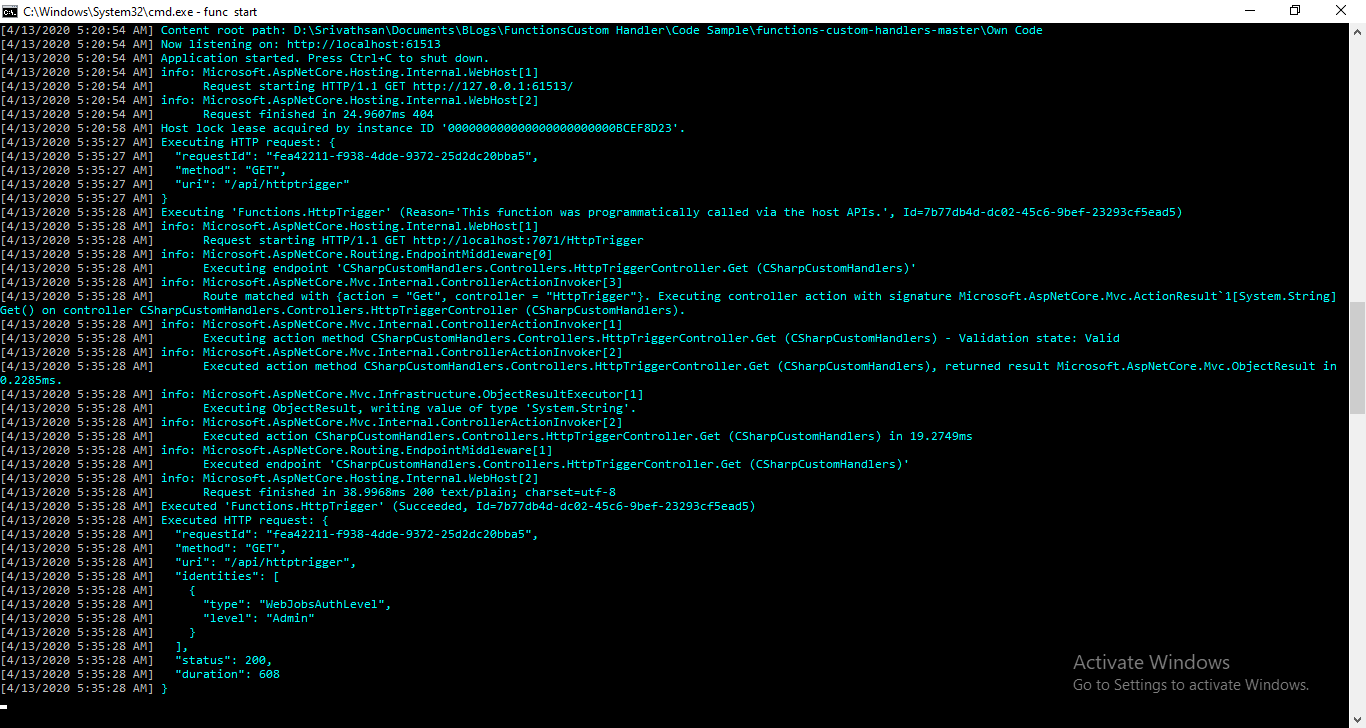
The command to start the Azure function is func start
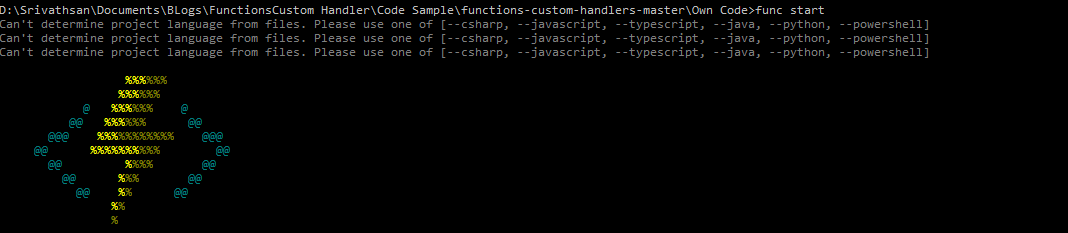
We can see that the Azure function has internally executed the Web API dll.

We can also see that the Azure function has created a route api/HttpTrigger and has mapped it to HttpTrigger.
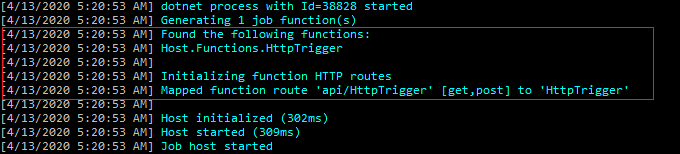
If you are following the above steps, you can realize that we have not added any azure function so far. We have only the host and function JSON files. The azure function host has detected the endpoints in the custom handler i.e. our Web API. It has created proxy routes to the Web API routes.
Let’s test the azure function now. The azure function is listening in the 7071 port as you see below.

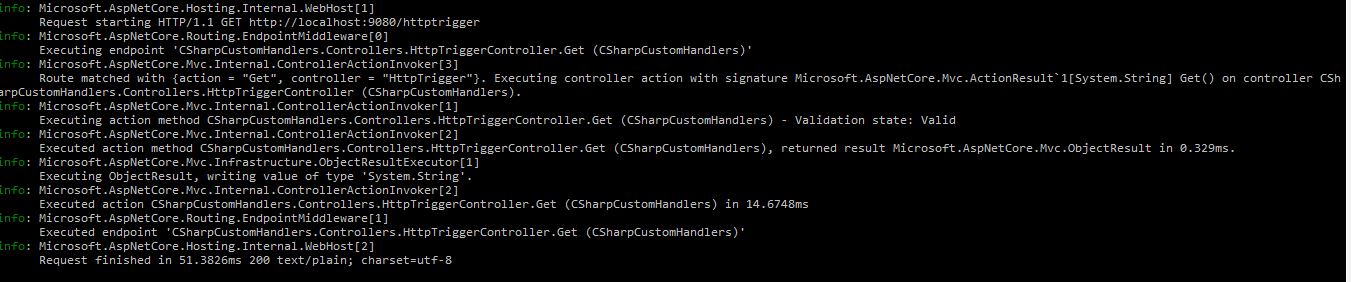
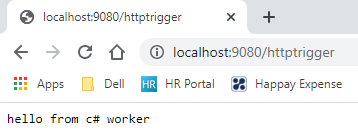
Let us issue a GET request.
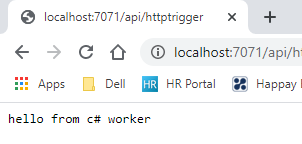
From the above screenshots, the Azure function has forwarded the call to the Web API and the response “hello from C# worker” is seen in the browser.
Let’s issue a POST request from POSTMAN. We see that it is working fine.

Example 2: Queue Trigger
Now let us consider the example of a queue trigger. Once we upload an item to the queue, the azure function would get fired. At that time, the function host would offload the task to the Custom Handler and then after the response is received would route it to the target.
Step 1: To our Web API lets add a QueueTriggerController and related classes
[Route("[controller]")]
    [ApiController]
    public class QueueTriggerController : ControllerBase
    {
        private ILogger<QueueTriggerController> _logger = null;
        public QueueTriggerController(ILogger<QueueTriggerController> logger)
        {
            _logger = logger;
        }

        [HttpGet]
        public ActionResult<string> Get()
        {
            return "hello queue from c# worker";
        }

        [HttpPost]
        public ActionResult Post([FromBody]InvocationRequest value)
        {
            string result = string.Empty;
            foreach(var data in value.Data.Keys)
            {
                _logger.LogInformation($"data:{data} value:{value.Data[data]}");
                result += $"data:{data} value:{value.Data[data]}";
            }

            foreach (var metadadata in value.Metadata.Keys)
            {
                _logger.LogInformation($"data:{metadadata} value:{value.Metadata[metadadata]}");
            }
            InvocationResult invocationResult = new InvocationResult()
            {
                ReturnValue = "HelloWorld from c# worker " + result
            };
            return new JsonResult(invocationResult);
        }
    }
InvocationRequest.cs

public class InvocationRequest
    {
            public IDictionary<string, object> Data { get; set; } = new Dictionary<string, object>();

            public IDictionary<string, object> Metadata { get; set; } = new Dictionary<string, object>();
    }

InvocationResult.cs

public class InvocationResult
    {
        public object ReturnValue { get; set; }

    }
When a message is uploaded to the source Azure Storage Queue, a trigger gets fired to the Azure function with the below json structure
{
    "Data": {
            },
    "Metadata": {
    }
}
Hence, we are using the InvocationRequest to map the trigger to the POST Endpoint as body.
Our Web API has a POST route /queuetrigger which would be used by the Azure Function host.
Let’s release build the project again in Visual Studio and move the files to the Final folder like our HttpTrigger example.
Step 2: Prepare the Directory structure for Queue Trigger
To our Final folder, we must add another directory with the name QueueTrigger . The directory name is in a match without our Web API POST Endpoint which is /queuetrigger.
Inside the QueueTrigger directory add a JSON file with the name function.json.
{
  "bindings": [
   {
      "name": "myQueueItem",
      "type": "queueTrigger",
      "direction": "in",
      "queueName": "test-input-node",
      "connection": "AzureWebJobsStorage"
    },
    {
      "name": "$return",
      "type": "queue",
      "direction": "out",
      "queueName": "test-output-node",
      "connection": "AzureWebJobsStorage"
    }
  ]
}
The above file instructs the Azure function to take the input from test-input-node and put back the output in test-output-node. The function would route the trigger to the /queuetrigger POST Endpoint, containing the InvocationRequest as a parameter.
Now the directory Final looks as below

The local.settings.json should have the below contents, which connects to the local Azure Emulator’s account.
{
    "IsEncrypted": false,
    "Values": {
        "AzureWebJobsStorage": "UseDevelopmentStorage=true",
        "FUNCTIONS_WORKER_RUNTIME": "dotnet"
    }
}
Step 3: Prepare the Azure Storage Queue
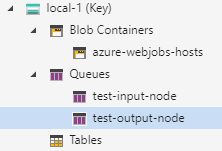
Open Azure Storage Explorer and connect to the local storage account. Add the following queues
Step 4: Test the queue trigger
Start the Azure function using func start

We can see that the Azure function has initialized two functions. Also, we see only one API route mapped to HttpTrigger and none for QueueTrigger. This is because only HttpTrigger has the Http Endpoint. QueueTrigger does not.
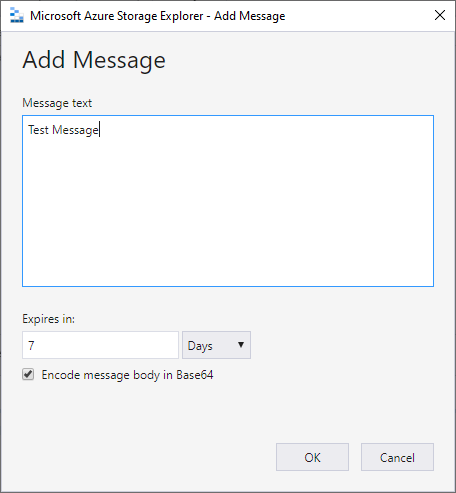
In Azure Storage Explorer, lets add a message to the test-input-node queue
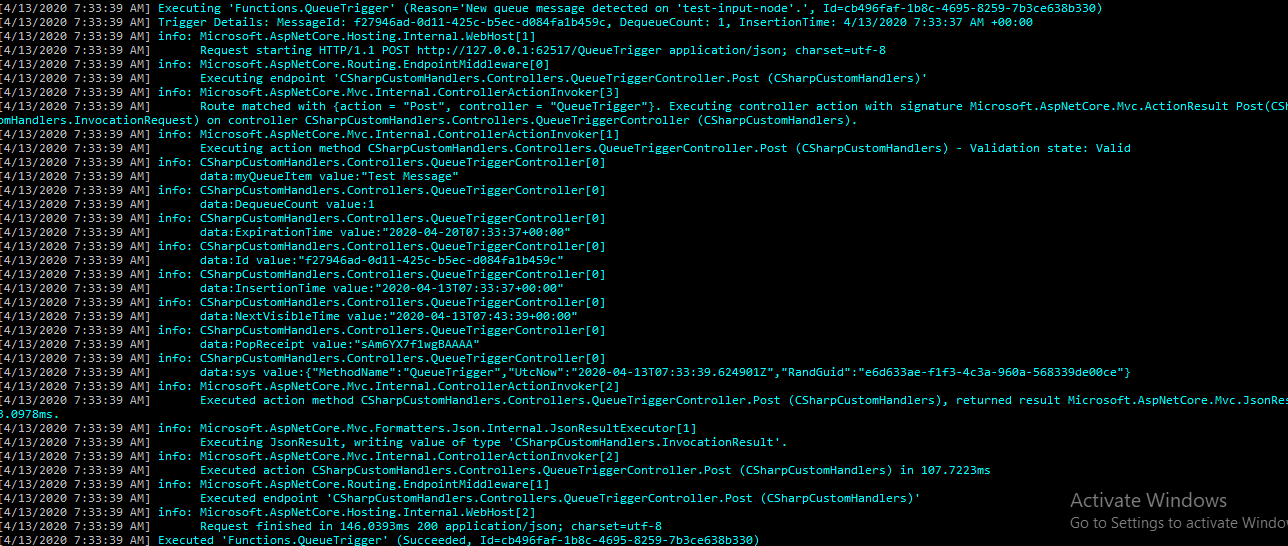
We can see that the QueueTrigger proxy function has fired in turn calling the POST Endpoint of QueueTrigger Controller in our Web API.
Now let’s check output queue which is test-output-node

We can see that the message we inserted in the input queue was processed by the Web API’s post endpoint, which was then received by the Azure Function host and was placed in the output queue.