
In my two previous blog posts, I talked about the most essential best practices you should have while working with Power Automate:
Today I’m going to speak about another critical best practice: Comments. This is quite basic and normal for developers, but once again, Power Automate has a broader audience than typical developers. Nowadays, citizen developers like business users or end-users can start creating their solutions. But there is also a potential negative impact of empowering citizen developers. They are not familiar with programming best practices that we can apply to any technology or service like naming conventions addressed previously.
#3 Add Comments
So, why is it essential to add comments to all our actions? Or at least in the most important ones…
Almost for the same reasons we describe in the previous Best practices, Tips, and Tricks:
- It improves readability.
- By setting comments in your actions, you can quickly identify what action is intended for and what is doing, without the need to read all the settings inside the action to try to figure it out. And sometimes, that may not be enough, and you still need to go to some documentation (API Documentations, project documentation, and so on) to understand.
-
- So, you provide readability and save time (not spending a considerable amount of time looking at the details and configurations inside your actions) and frustrations. You may think that this is not important. You have created the flow. You know the logic inside and what shapes represent or are used for, but, once again, trust me, you will completely forget it after 3 months or a week!
-
- By setting comments in your actions, you can quickly identify what action is intended for and what is doing, without the need to read all the settings inside the action to try to figure it out. And sometimes, that may not be enough, and you still need to go to some documentation (API Documentations, project documentation, and so on) to understand.
- It also transfers knowledge between your team or organization.
- Sometimes Flows are shared by a team, or you are a consultant creating flows for your client. They also need to be aware of them. They also need to understand them. You may leave the project or the company in the future, and they will need to continue the work or make future changes. Having a good comment policy in place in the actions is also a way to auto-document your processes.

How can you add a comment to your action or trigger?
To add a note to an action step or trigger, you need to:
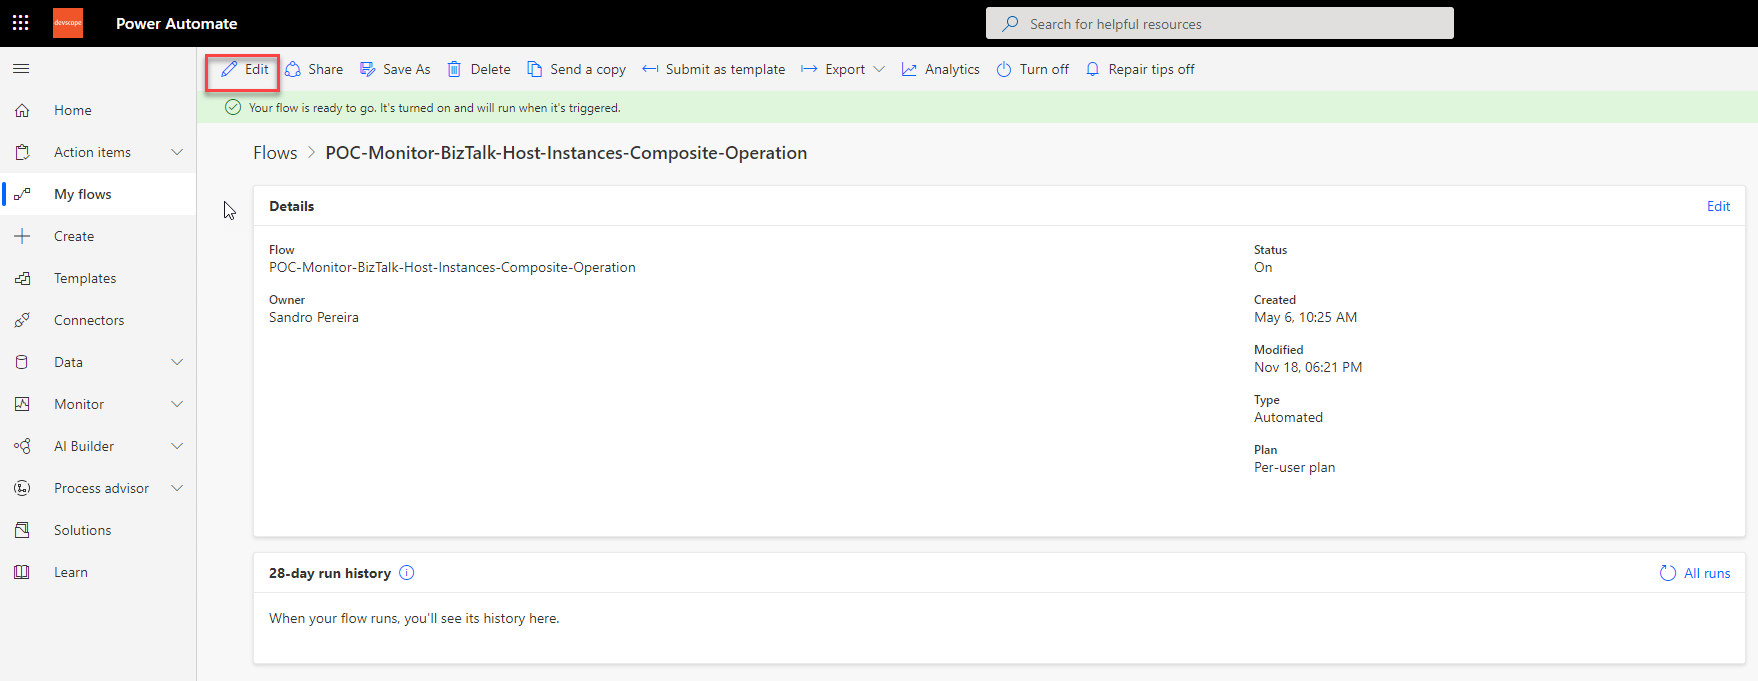
- Open the power automate or flow in edit mode by selecting your flow and clicking on the Edit button
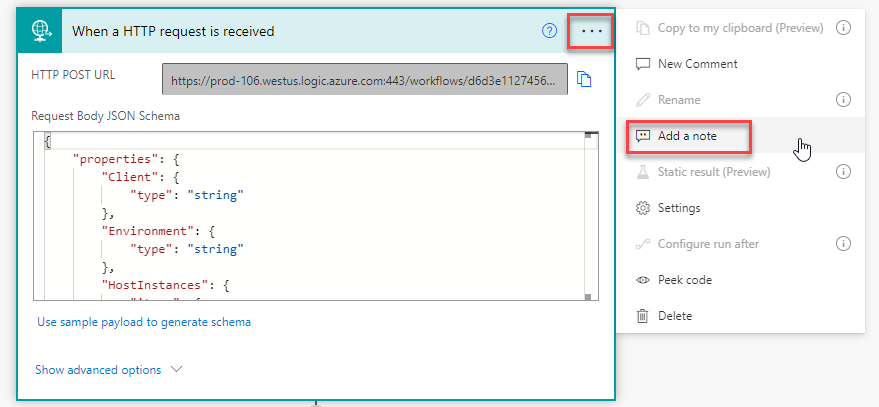
- Then on your action or trigger, click on the 3 dots to open the option list and then choose Add Note.
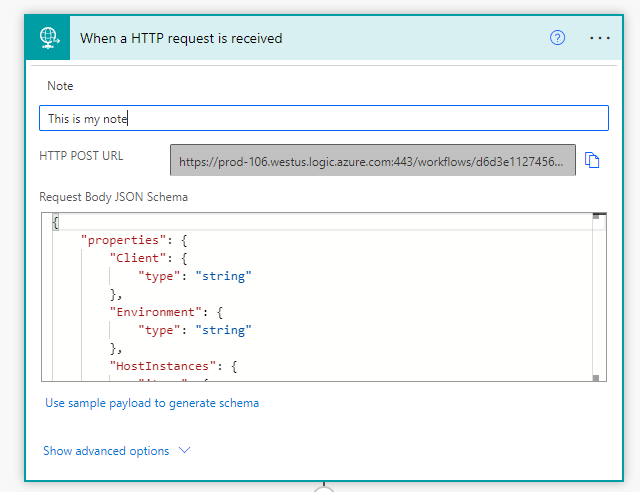
- A new note section will appear on the action or trigger configuration panel where you can enter your comment. Once the comment is entered, you can go out of the action step by moving to a new action or collapse that action.
- Once you leave the action, the note will be present if you expand it again. Nevertheless, you must repeat the same process if you want to edit or delete the existing note/comment.
Basic rules about Action names
- Power Automate allows you to set a comment between a minimum of 1 and a maximum of 250 characters!
- You can now use all types of characters.
- To delete a comment you need to edit and remove all text, basically adding an empty string
Samples
Here are some samples were and how you can use comments:
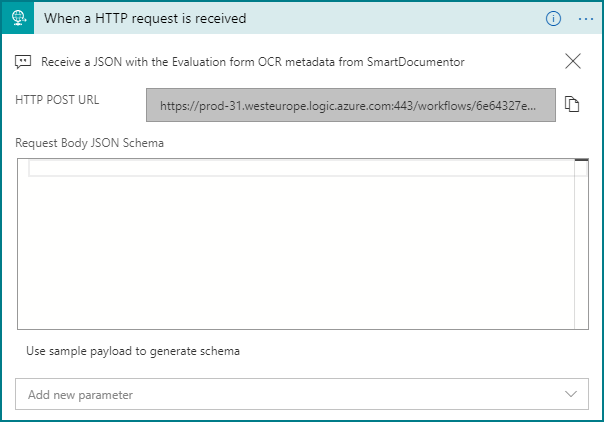
- At Actions Naming Convention tip, I mentioned that, unfortunately, not all triggers allow you to modify the name. This is a significant limitation, in my opinion, and this behavior should be modified in the future. Still, for now, we need to deal with that limitation. One of those cases is the HTTP – When a HTTP request is received. So here is a good place – for me, a mandatory place – to add a good comment.
- In this sample below we add a comment saying: Receive a JSON with the Evaluation form OCR metadata from SmartDocumentor. Now I know that I have an HTTP trigger that is waiting for a request that is sent by a tool called SmartDocumentor, and this tool is sending a JSON with the OCR metadata of a paper form that was captured and processed.
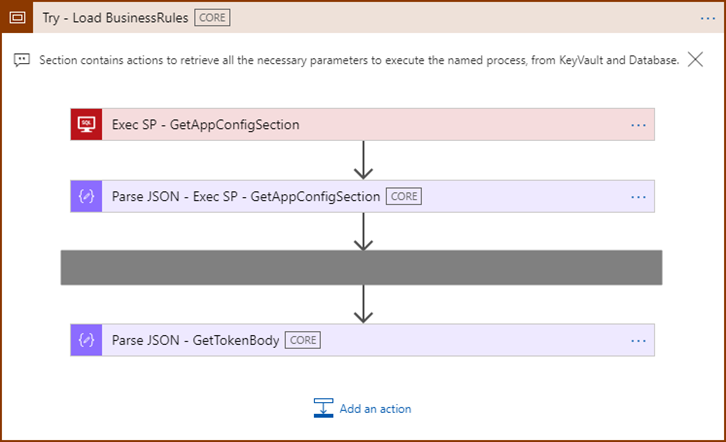
- On scopes. Scopes are a special kind of action that, unlike other actions, do not perform any actual work. Instead, they can contain other actions, and one of them is to act as a region, where you can collapse and expand certain sections of your business flow – but we will speak in the future about this topic.
- Because they act as a container of several actions, here is an excellent place to add a short description and resume of the section’s main goal. For example, in the picture below, that section is responsible for containing all actions necessary to retrieve all the required parameters from KeyVault and/or the database to control and use on the rest of the business flow
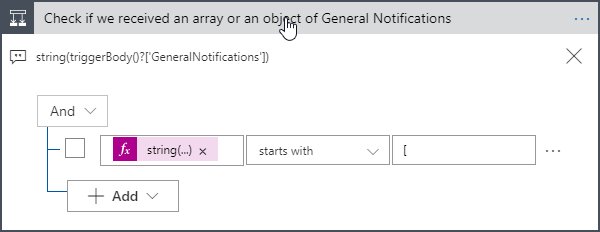
- On conditions! A simple trick here is to put the condition syntax as a comment of the shape, and the reason is that when we use expressions as you see in the below picture, you will only see in the flow design a small pink rectangular with string(…). To understand what is there, you need to select the expression, go to the expression editor, and scroll through the small text box to read the full expression. So if you take that expression and put it in the comment, you can easily read what condition is being applied without all of this additional work.
And of course in many other places. But, again, all actions should have a comment or at least the most important ones.
Stay tuned for the next Power Automate Best practices, Tips, and Tricks.